04. [For Windows] Configuring Git Bash to Run Python
For Windows users using Git Bash:
If you are on Windows and choose to use Git Bash, you'll need to run a few commands to configure it to run Python and Anaconda. We'll do this by creating a
.bashrc
file, which allows us to set up these configurations.
If you do not plan to use Git Bash, feel free to skip this section for now! Otherwise, open the Git Bash terminal and follow the steps below.
Step 1: Enter
cd
to get to your home directory.
This step is important. Git Bash does not open in this directory by default, and you'll need to be here to create your
.bashrc
file.

Troubleshooting error messages
In case you get an error message here, such as bash: cd: command not found , you may need to uninstall Git and reinstall Git. However, this time during installation select the checkbox Use Git and Optional Unix tools from the Windows Command Prompt .
Here is an additional blog post on Installing Git for Windows .
Then retry Step 1 above.
Step 2: Enter
pwd
to get the path to your home directory.
pwd
gives you the path to your current directory, which should be your home directory if you did Step 1. You'll need this for the next step.
The path to my home directory is
/c/Users/Juno
.

Step 3: Get the file path to your Anaconda installation.
[ Note : You may need to come back to this step and the next step after installing Anaconda in a couple more pages.]
To get the file path to your Anaconda installation, you need to take the path you got from the previous step and append to it with the name of your Anaconda folder.
Find the name of your Anaconda folder by entering
ls
. (These are lower case letters "l" and "s", because you want to "list" your files.) This should print all the file names in your home directory. If you used the default settings during your Anaconda installation, this folder name is likely
Anaconda3
or
anaconda
.
In my directory, I had a folder named
Anaconda3
. So the full file path to my Anaconda installation is
/c/Users/Juno/Anaconda3
.
Step 4: Add Python and Anaconda to PATH in
.bashrc
file.
Next, enter the following command in your terminal, replacing
[YOUR_PATH]
with the path to your Anaconda installation. For example, I would replace
[YOUR PATH]
in the string below with
/c/Users/Juno/Anaconda3
.
echo 'export PATH="$PATH:[YOUR_PATH]:[YOUR_PATH]/Scripts"' >> .bashrc
WARNING:
Before pressing enter, make sure you are following the syntax exactly (especially the placement of each
'
,
"
, and
$
symbol), and double check that you are replacing
[YOUR PATH]
correctly. You can compare your complete command with mine in the screenshot below.
This step adds two paths to a
.bashrc
file, which tells Git Bash where to find the scripts it needs to execute Python and Anaconda. Again, it's important that you are in your home directory when you complete this step.

Step 5: Add alias for Python in
.bashrc
file.
Next, enter this command to tell Git Bash where to find the Python executable file.
echo 'alias python="winpty python.exe"' >> .bashrc
This is an extra step that's needed for users running Python in Git Bash. This adds a command to your
.bashrc
file that says to run
winpty python.exe
whenever you enter
python
into the terminal.

Step 6: Execute commands from
.bashrc
Now that you added the necessary commands to your
.bashrc
file, run the following line to execute the file.
source .bashrc
Alternatively, you can just close and open a new Git Bash window, which would accomplish the same thing.
.bashrc
is executed every time Git Bash launches.

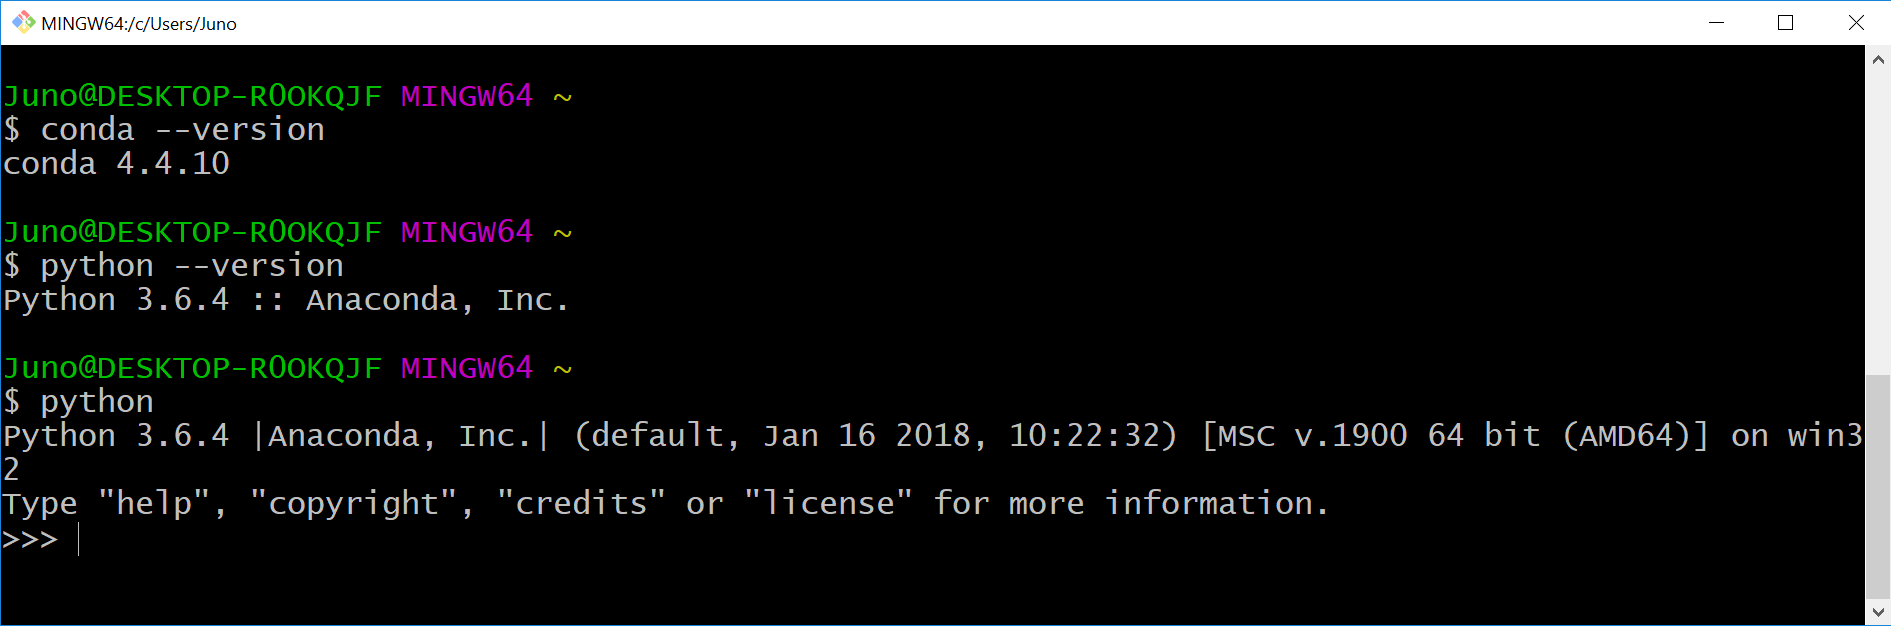
Step 7: Test Run
Run the following commands to make sure you can access conda, Python, and the Python interpreter. If you followed these steps correctly, you should now be able to run Python in Git Bash!
Enter
exit()
to leave the Python interpreter after the last step above.